The Ultimate Guide to Shingle Installation in Arlington


Understanding Shingle Types
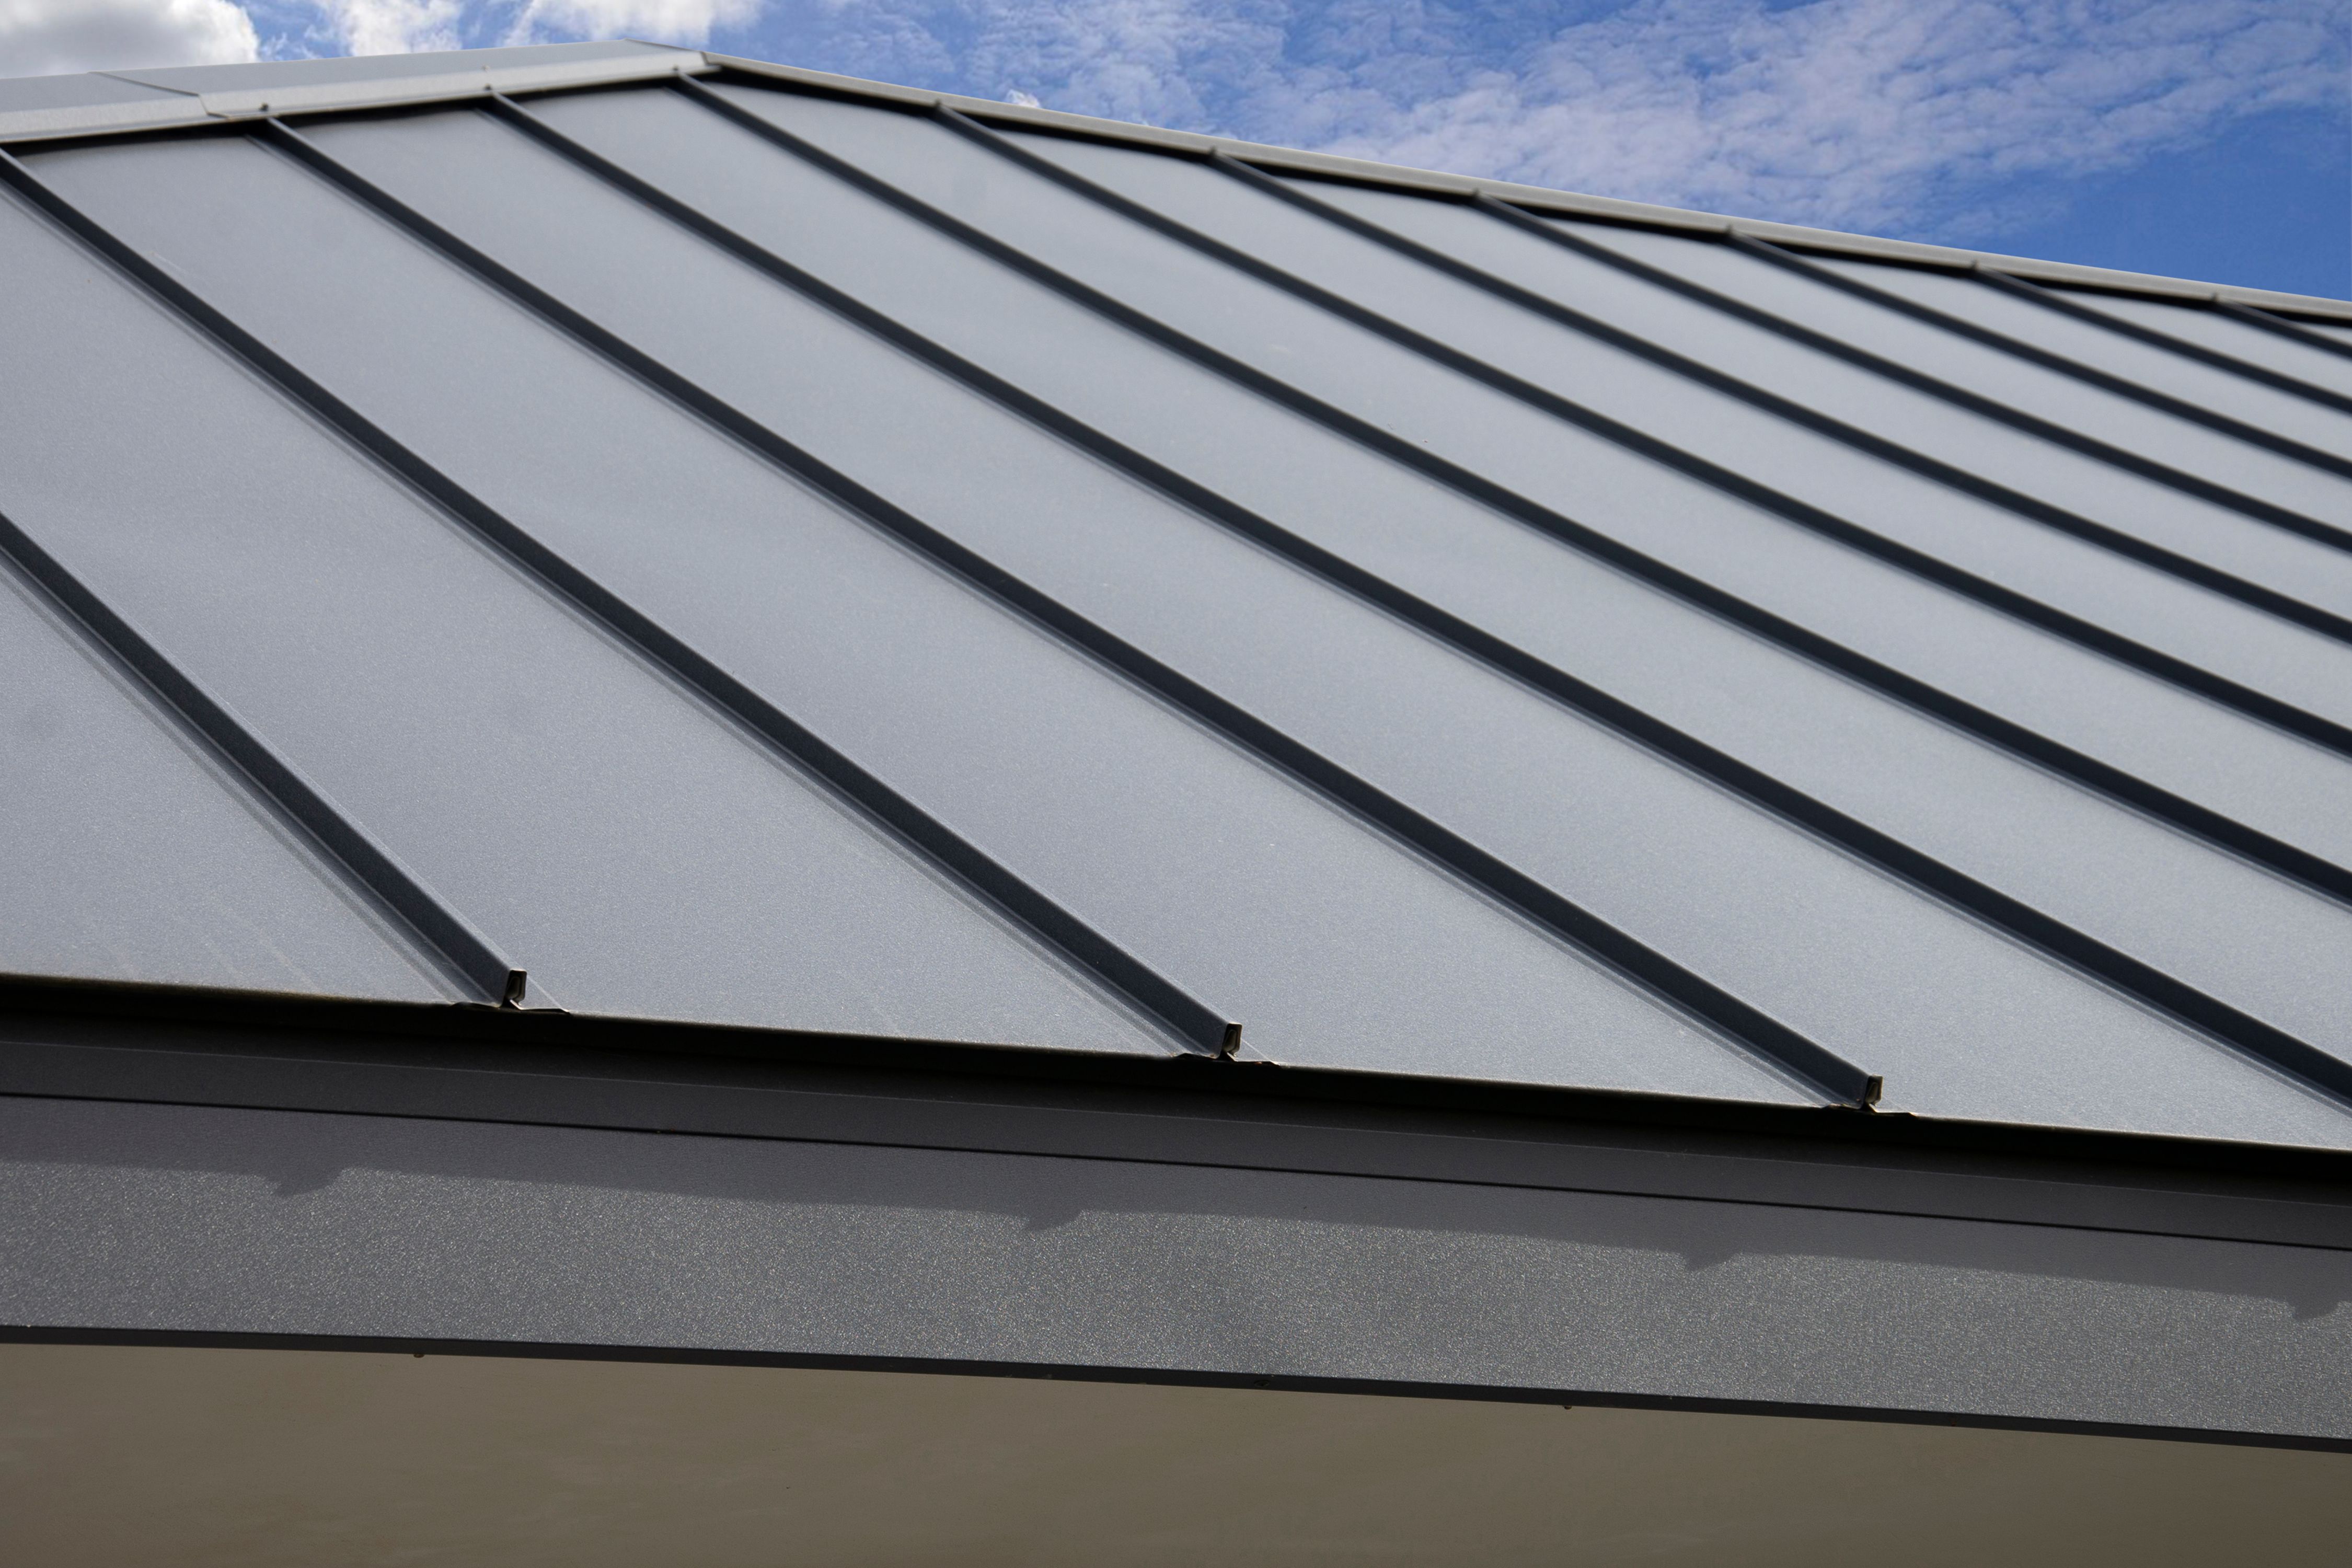
When it comes to shingle installation in Arlington, one of the first things to consider is the type of shingle that best suits your home. The most common types are asphalt, wood, and slate shingles, each offering unique benefits. Asphalt shingles are popular for their affordability and durability, while wood shingles offer a natural aesthetic that's hard to beat. Slate shingles, on the other hand, provide unmatched longevity but come at a higher cost.
It's essential to match your choice of shingles with your home's architectural style and your budget. For those living in areas with extreme weather conditions, asphalt shingles with added weather resistance might be the best option. Meanwhile, homeowners looking for a classic or rustic look might prefer wood shingles.
Preparing for Installation
Proper preparation is crucial for a successful shingle installation. Begin by inspecting your roof for any damage or structural issues that need to be addressed prior to installation. It's vital to repair leaks, replace rotting wood, and ensure the roof's underlayment is in good condition before proceeding.
Next, gather all necessary tools and materials. This typically includes a hammer, roofing nails, a utility knife, and a ladder. Additionally, ensure you have the correct safety gear, such as gloves and non-slip footwear. Taking these precautions will help prevent accidents and ensure a smoother installation process.
Step-by-Step Installation Process
The shingle installation process involves several steps that need to be followed meticulously for optimal results. Here's a breakdown of the essential steps:
- Lay the underlayment: Start by rolling out the roofing underlayment across the entire surface. This layer acts as an additional barrier against moisture.
- Install starter shingles: Place these along the roof's edge to provide a solid foundation for the rest of the shingles.
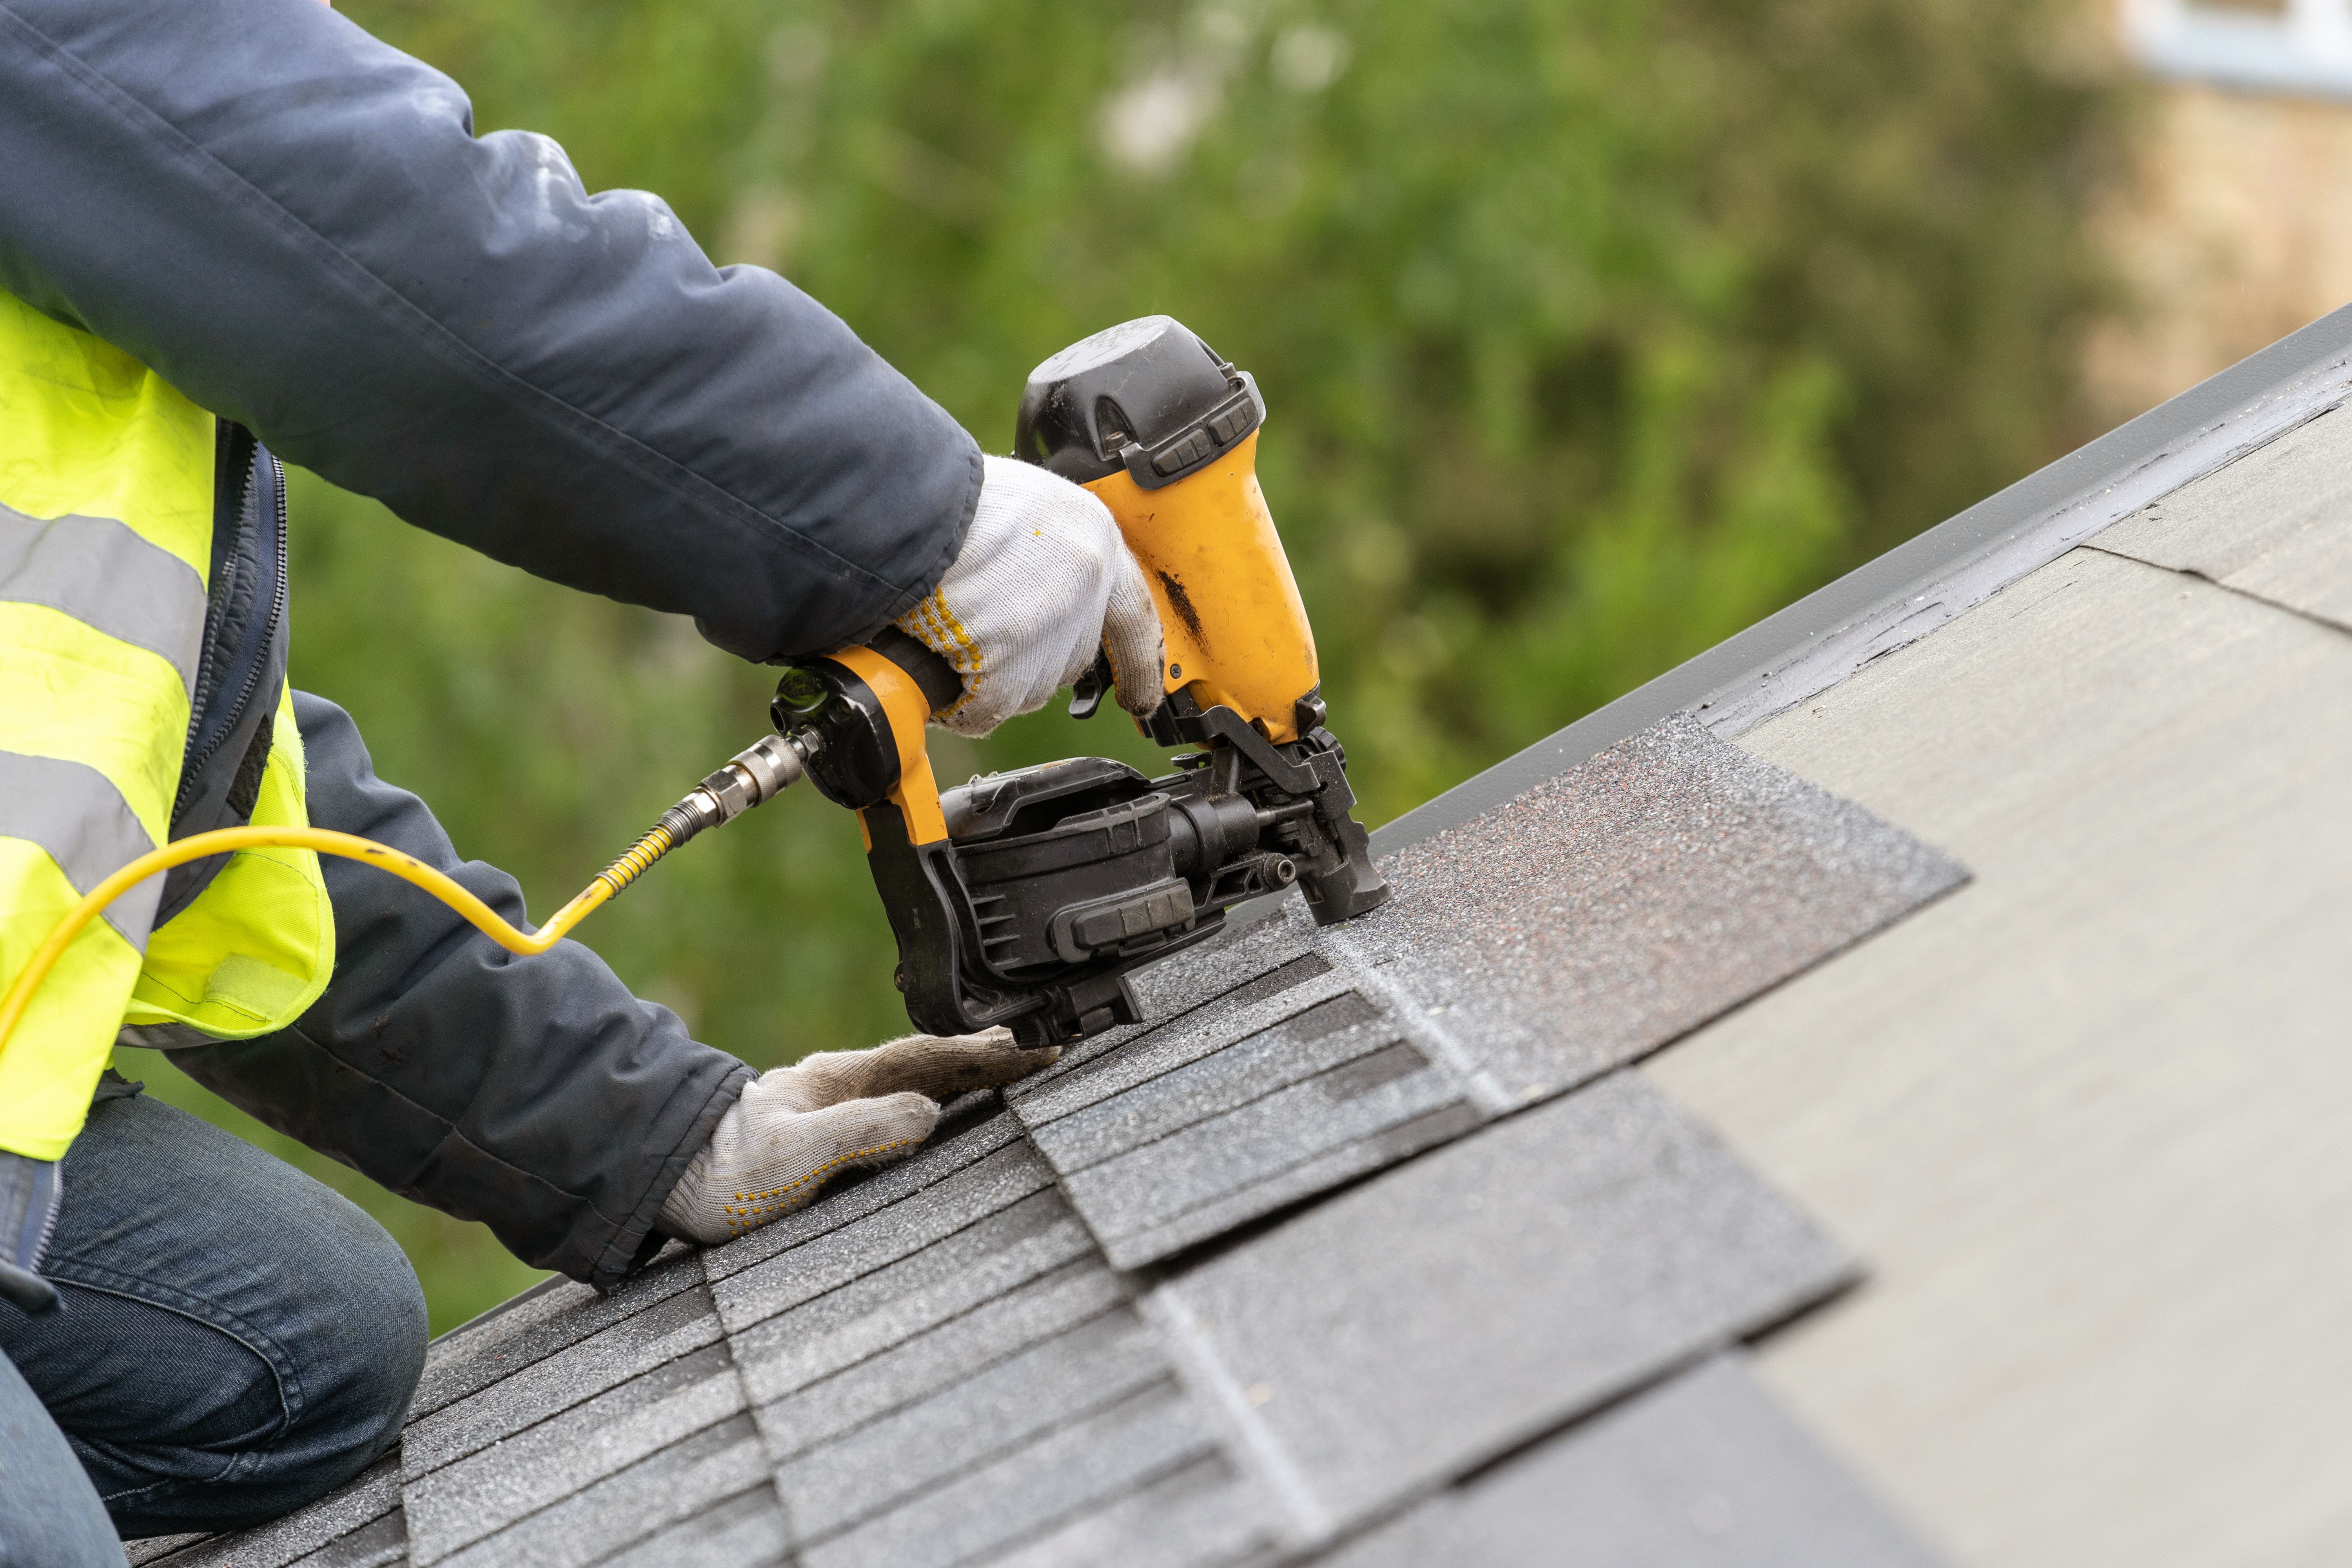
- Begin shingling: Lay the first row of shingles along the starter strip, ensuring they are aligned properly. Continue with subsequent rows, staggering them as you go.
- Cap the ridge: Once all rows are installed, finish by applying ridge cap shingles along the roof's peak.
Post-Installation Tips
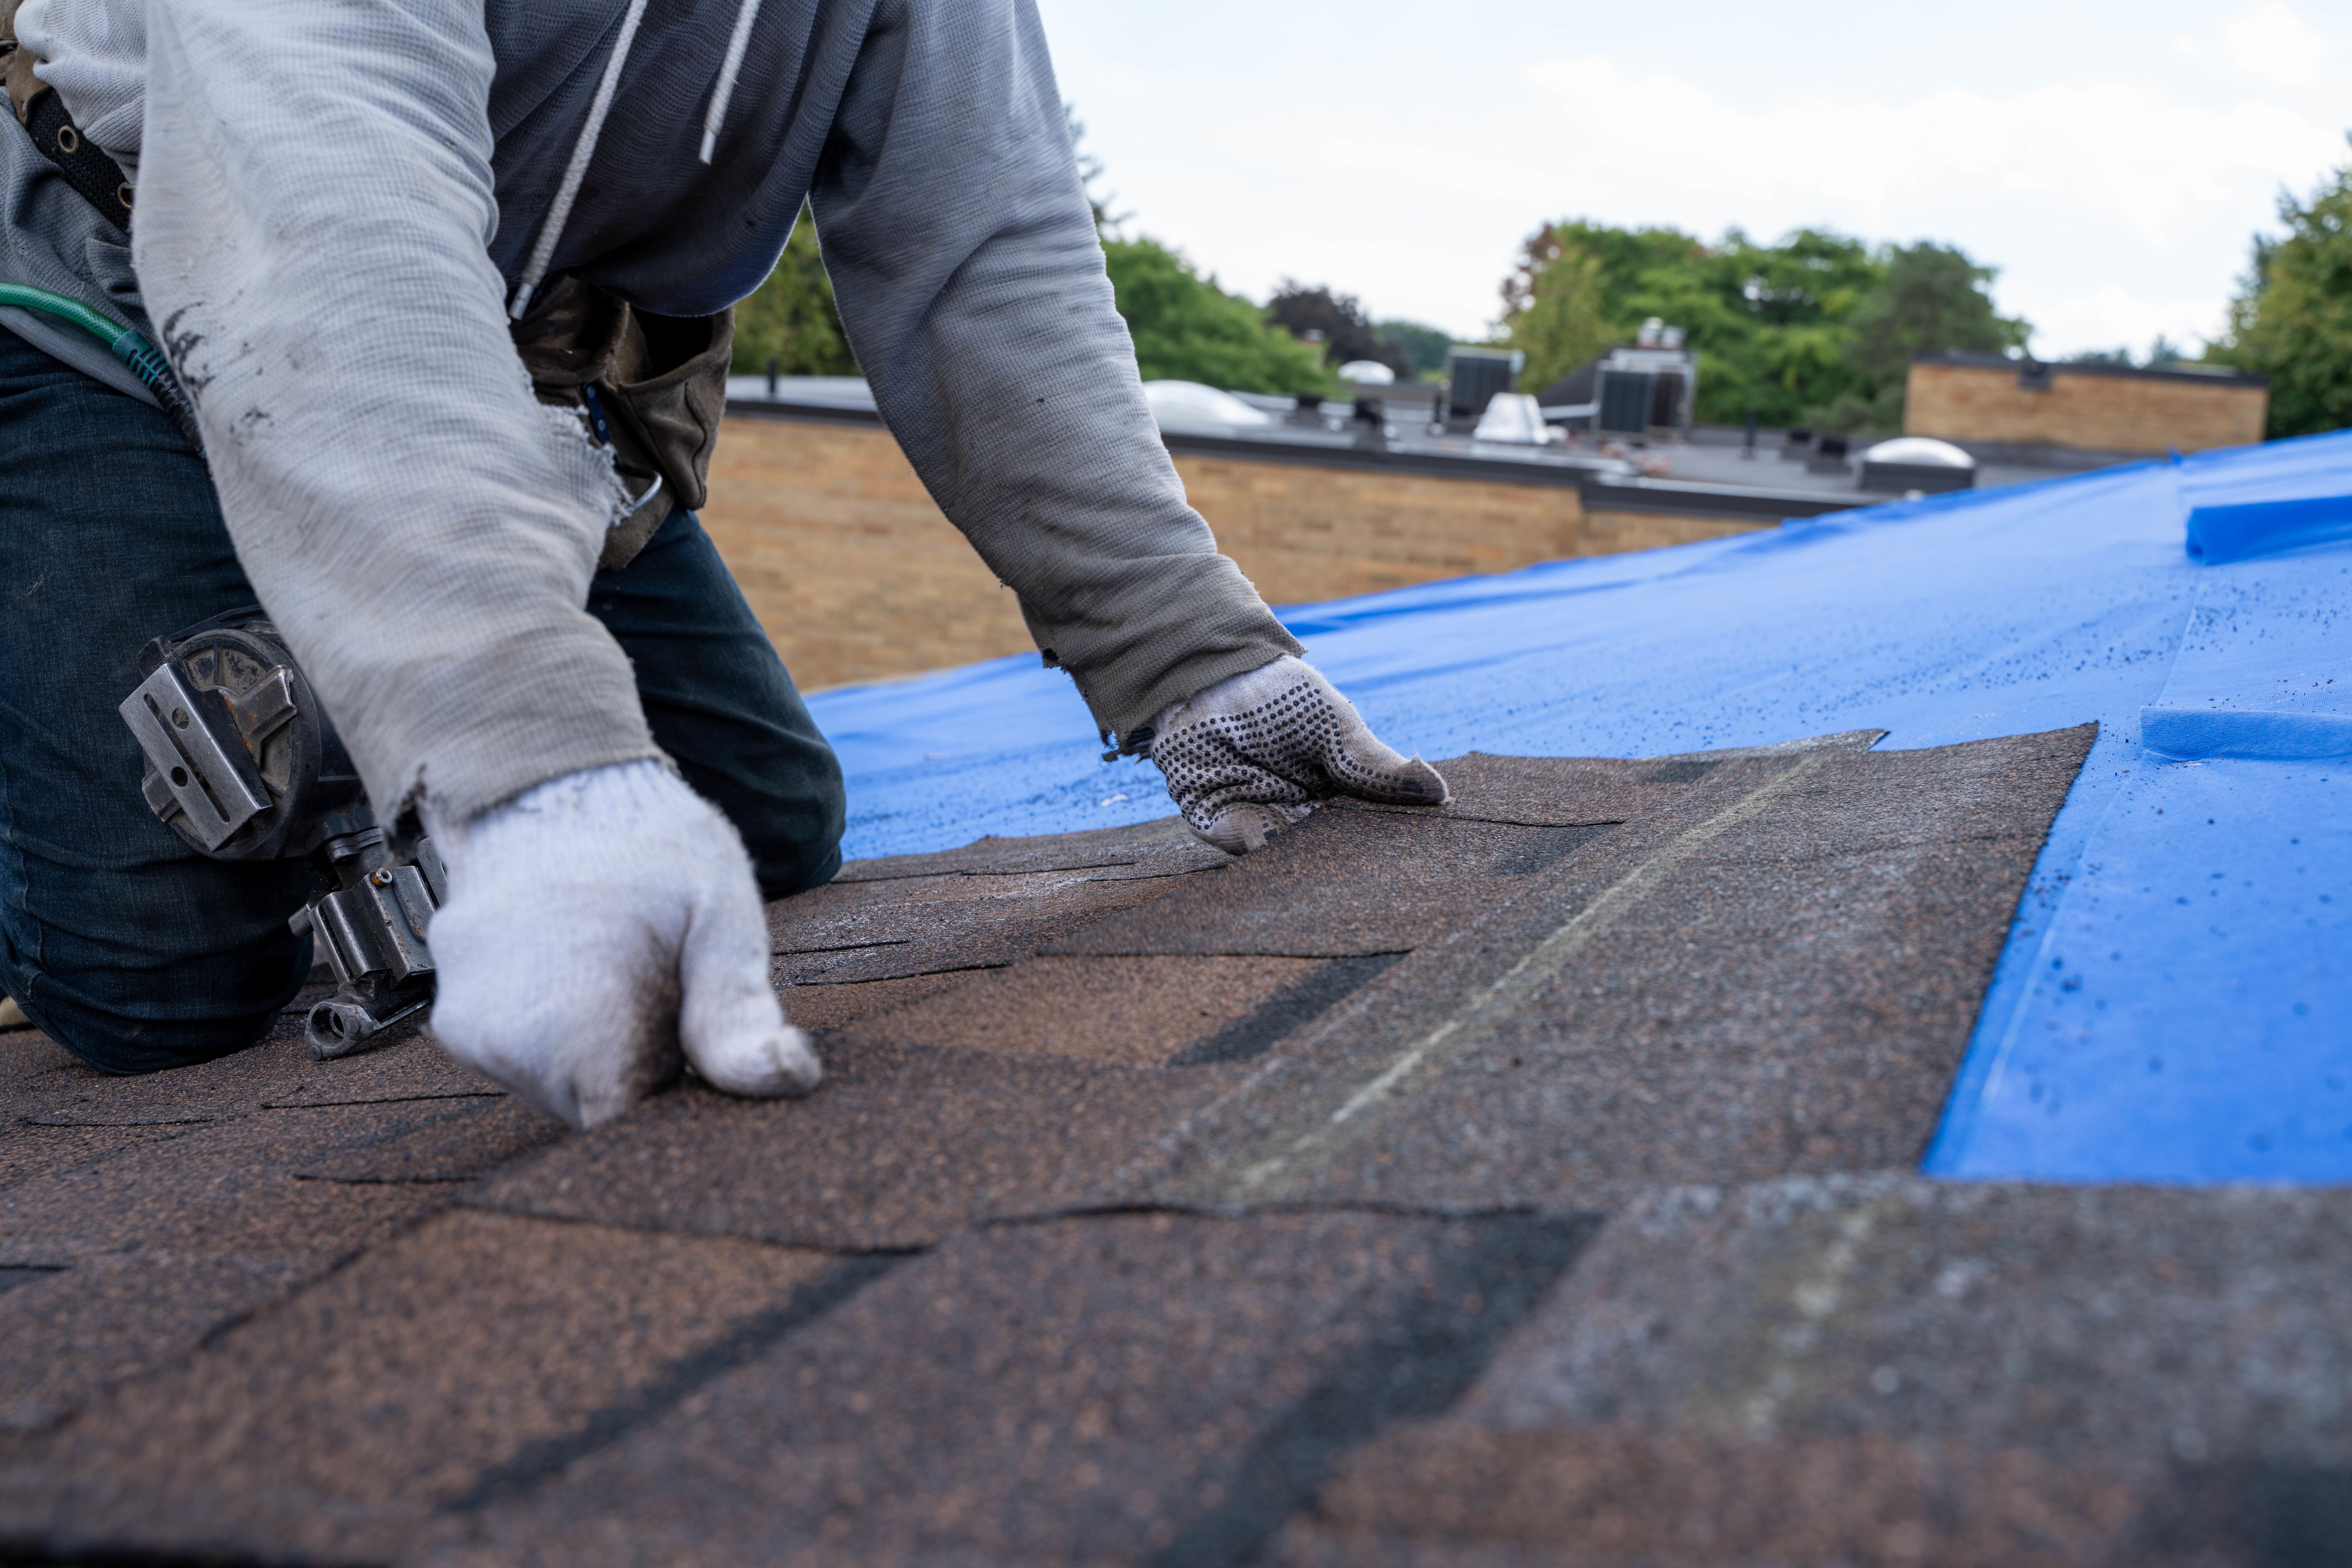
After installing your shingles, it's important to conduct a thorough inspection to ensure everything is secure and watertight. Check for any loose shingles or exposed nails that could pose problems later on. Regular maintenance is key to extending the lifespan of your roof.
Additionally, consider installing a gutter system to efficiently direct rainwater away from your home. This can prevent water damage and reduce the risk of leaks in the future. Regularly cleaning your gutters and checking for blockages will also help maintain your roof's integrity.
Hiring Professional Help
While some homeowners may feel confident in tackling shingle installation themselves, others might prefer hiring professional help. Roofing contractors in Arlington have the expertise and experience to handle installations efficiently and safely. If you're unsure about any aspect of the process or lack the necessary tools, seeking professional assistance is a wise choice.
When choosing a contractor, ensure they are licensed and insured, and ask for references or reviews from previous clients. This will give you peace of mind knowing your home is in capable hands.

Caring for Your New Roof
Once your new shingles are installed, ongoing care is crucial to keeping them in excellent condition. Regularly inspect your roof for any signs of damage or wear, especially after severe weather events. Promptly address any issues to prevent further complications.
Additionally, trimming overhanging branches can prevent debris accumulation and potential damage during storms. By taking these proactive measures, you'll ensure your roof remains protected and continues to enhance your home's curb appeal for years to come.